| .github | ||
| data | ||
| public | ||
| src | ||
| .dockerignore | ||
| .drone.yml | ||
| .eslintrc.js | ||
| .gitignore | ||
| .prettierrc.js | ||
| codecov.yml | ||
| CONTRIBUTING.md | ||
| docker-compose.yml | ||
| Dockerfile | ||
| LICENSE | ||
| nginx.conf | ||
| package.json | ||
| README.md | ||
| renovate.json | ||
| screenshot.png | ||
| tsconfig.json | ||
| yarn.lock | ||
Dashboard
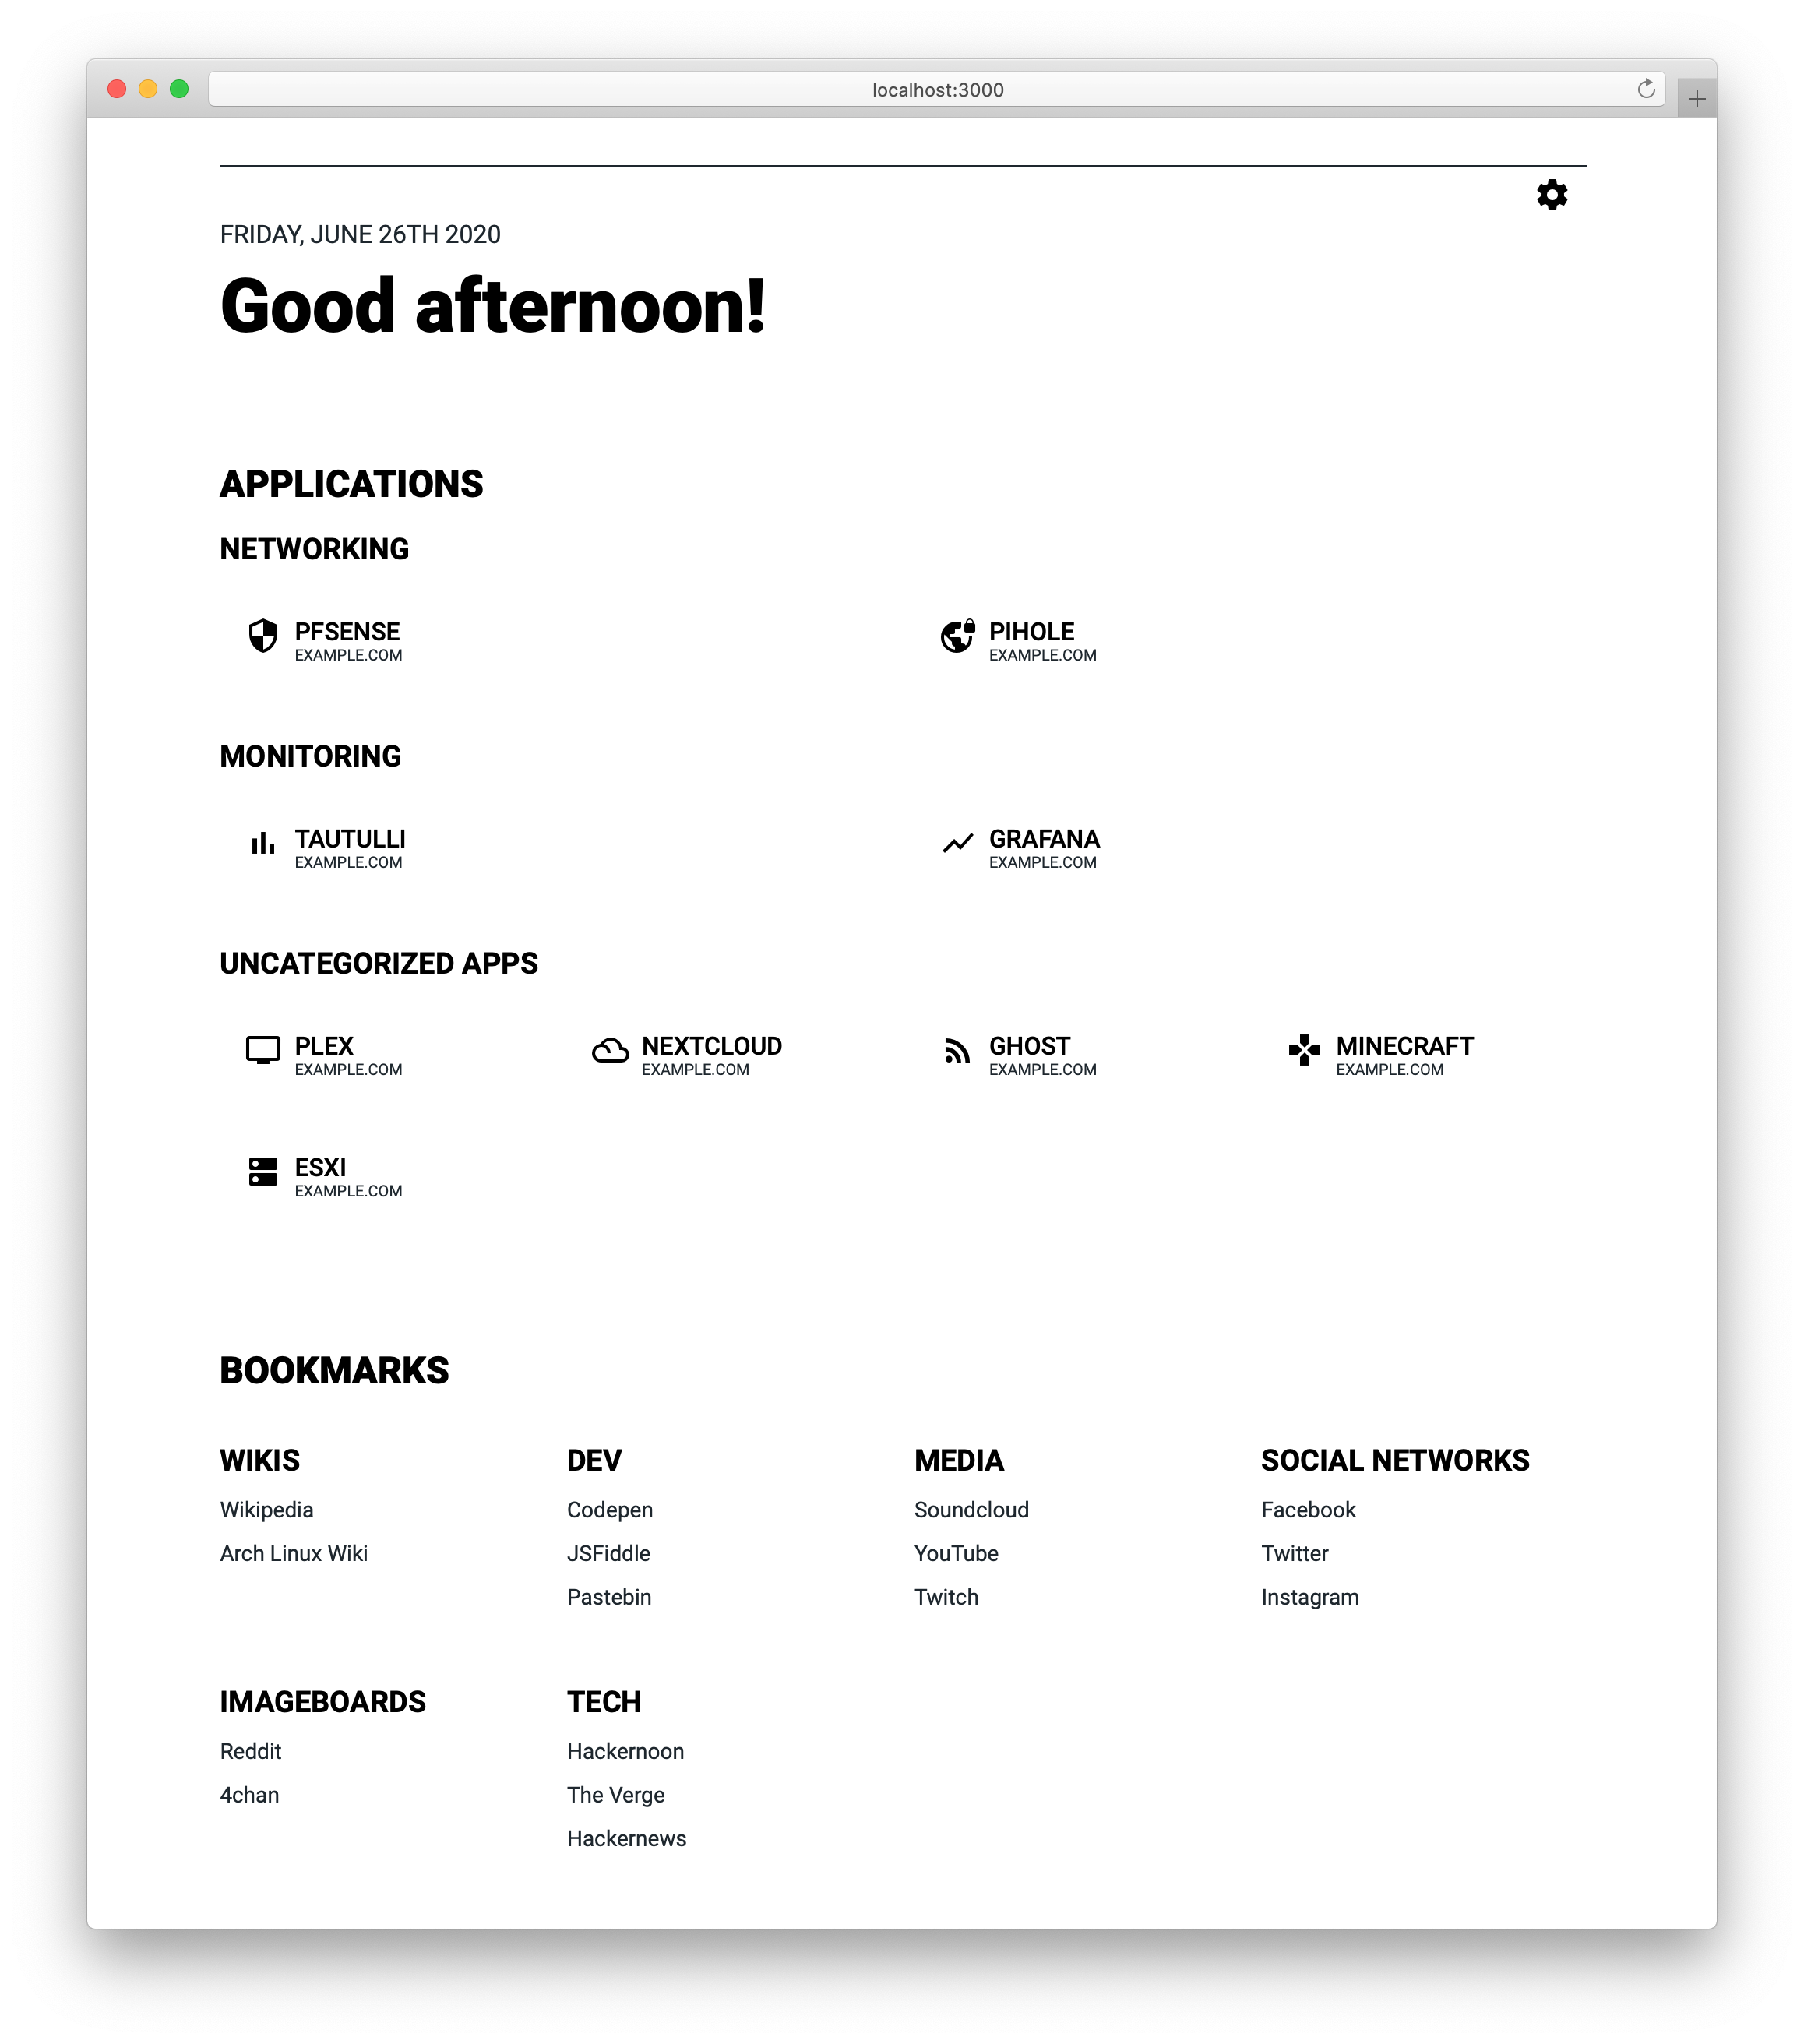
Dashboard is just that - a dashboard. It's inspired by SUI and has all the same features as SUI, such as simple customization through JSON-files and a handy search bar to search the internet more efficiently.
Features
So what makes this project different from (or even better than) SUI?
- "Display URL" functionality (The URL displayed for apps can differ from the actual URL)
- Categorization for apps
- Themes and search providers can be changed using JSON
- Imprint functionality
Installation
The recommended way of installation is using Docker. You could also build your own version from source, but do proceed at your own risk.
Docker
The Docker image is built on top of this image, as it's based on Nginx and also provides functionality to purge the Cloudflare cache every time the container restarts (though this functionality is entirely optional).
The Docker image is available on both DockerHub and the GitHub Container Repository (GHCR, see "packages").
- Using the Docker CLI:
$ docker run -d \
  -e CLOUDFLARE_ZONE_ID=[OPTIONAL CLOUDFLARE V4 ZONE ID] \
  -e CLOUDFLARE_PURGE_TOKEN=[OPTIONAL CLOUDFLARE PURGE TOKEN] \
  -v $(pwd)/data:/app/data \
  -p 8080:8080 \
  --name=dashboard \
  phntxx/dashboard
- Using Docker-Compose:
version: "3"

services:
  dashboard:
    image: phntxx/dashboard:latest
    restart: unless-stopped
    environment:
      - CLOUDFLARE_ZONE_ID=[OPTIONAL CLOUDFLARE V4 ZONE ID]
      - CLOUDFLARE_PURGE_TOKEN=[OPTIONAL CLOUDFLARE PURGE TOKEN]
    volumes:
      - [path to data directory]:/app/data
    ports:
      - 8080:8080
Compile from source
I really don't anticipate people to use this, so go forth at your own risk.
$ git clone https://github.com/phntxx/dashboard.git
$ cd dashboard/
$ yarn
$ yarn build
$ yarn serve:production
Manual install
$ git clone https://github.com/phntxx/dashboard.git
$ cd dashboard/
$ yarn
$ yarn build
$ cp -R build/* .
/etc/nginx/conf.d/dashboard.conf
server {
        server_name localhost;
        listen 8080;
        root /var/www/dashboard/html/;

        location / {
                index index.html index.htm;
        }
}
$ cd ..
$ mkdir /var/www/dashboard
$ mv dashboard/ html
$ mv html/ /var/www/dashboard
$ chown -R www-data:www-data
$ systemctl nginx reload
Configuration
There's a couple of things you can / need to configure to get Dashboard to look and behave just as you want it to.
If you don't require a specific component, just remove the file from your data-directory. Dashboard won't render the components whose files are not present. With no files present, only the greeter will be shown.
If you're running into problems with configuring your files and you can't seem to get them to work, feel free to open an issue, I'd be happy to help! 😄
Apps
To show the apps you want to show, change apps.json to resemble the following:
{
  "categories": [
    {
      "name": "[Name of the category]",
      "items": [
        {
          "name": "[Name of the app]",
          "displayURL": "[URL you want to show]",
          "url": "[URL to redirect to]",
          "icon": "[Icon code]",
          "newTab": true
        },
        ...
      ]
    },
    ...
  ],
  "apps": [
    {
      "name": "[Name of the app]",
      "displayURL": "[URL you want to show]",
      "url": "[URL to redirect to]",
      "icon": "[Icon code]",
      "newTab": false
    },
    ...
  ]
}
Wherein either apps or categories can be omitted as needed.
newTab is optional and defaults to false.
To find icons, simply go to the Material Design Icon Library and copy one of the codes for an icon there.
Bookmarks
To show bookmarks, bookmarks.json needs to resemble the following:
{
  "groups": [
    {
      "name": "[Group Name]",
      "items": [
        {
          "name": "[Bookmark Name]",
          "url": "[Bookmark URL]",
          "newTab": true
        },
        ...
      ]
    },
    ...
  ]
}
newTab is optional and defaults to false.
Themes
In order to customize theming, themes.json needs to resemble this:
{
  "themes": [
    {
      "label": "[Theme Name]",
      "value": "[Number of the theme]",
      "mainColor": "[Main Color as 6-character hex code]",
      "accentColor": "[Accent Color as 6-character hex code]",
      "backgroundColor": "[Background Color as 6-character hex code]"
    },
    ...
  ]
}
Search Providers
For search providers to work, make sure your search.json resembles the following:
{
  "providers": [
    {
      "name": "[Name of the website]",
      "url": "[Link that processes searches on that website]",
      "prefix": "[A custom prefix (e.g. '/test')]"
    },
    ...
  ]
}
You can also customize whether or not the search bar automatically focusses on render by adding
the following to search.json, on the same level where properties like providers are located:
"autoFocus": true,
Imprint
In order for the imprint-modal to show up, make sure your imprint.json resembles the following:
{
  "imprint": {
    "name": {
      "text": "[Name]",
      "link": "[Link to the name (to e.g. a portfolio)]"
    },
    "address": {
      "text": "[Address]",
      "link": "[Link for the address (to e.g. Google Maps)]"
    },
    "phone": {
      "text": "[Phone number]",
      "link": "[Link for the phone number]"
    },
    "email": {
      "text": "[Email address]",
      "link": "[Link for the email address (e.g. for 'mailto')]"
    },
    "url": {
      "text": "[URL]",
      "link": "[Link for the URL]"
    },
    "text": "[Text for the imprint]"
  }
}
❗ I haven't quite tested this. I'm not a lawyer and I'm not responsible if you're sued for using this incorrectly.


